Showing posts with label Dairy and Alternatives. Show all posts

Saturday, January 21, 2012

Dairy-free "Cheese"

Being on a restricted diet can leave one feeling that they cannot enjoy some everyday foods, particularly if the restriction includes dairy and dairy products. I have been in this scenario before and have found that some alternatives are available, especially when it comes to cheese. One of my go-to alternative recipes is actually inspired by an ingredient loved by vegans; nutritional yeast.  Nutritional yeast is a great source for vitamin B12 and is used as a food ingredient when one is trying to acquire a cheese-like flavour, whilst avoiding dairy. (For those of you who would like to read my previous post on nutritional yeast, click here.)


This particular recipe is for a dairy-free "cheese" sauce. For this recipe, you will require following ingredients:
- 1 1/2 cup water
- 1/4 cup nutritional yeast
- 1/2 cup raw cashews
- 1 teaspoon mustard
- 1 teaspoon double-concentrated tomato paste
- 1 teaspoon salt
- 2 1/2 tablespoons agar (ground)


Agar is an ingredient that is commonly used in India, Iran and surrounding areas to make desserts like puddings, drinks and ice creams. You may know the ingredient from biology class, as it is used as the gelling agent in Petri dishes. It is also commonly known by other names including agar agar, China grass, faluda (falooda) and falooda sev, among others. Agar is basically a vegetable-based starch used to gel foods, a process that is similar to using gelatin or pectin.

In the Greater Toronto Area, you may be able to find agar at specialty food shops, bulk food stores or health food stores. However, I find that buying agar from these type of places can burn a hole in your pocket. For that reason, I prefer to visit the local East Indian grocery store to purchase it. I find that buying ingredients, such as this one, at Indian grocery stores can be done at a fraction of the price. For example, this packet below cost me approximately $2.00 CAD.

As you can see, the Indian version comes in a packed, nest-like form. The word "falooda" is often used to describe foods that have been shredded. Also, the word "sev" is used to describe vermicelli.


As the agar will need to be dissolved in this recipe, I find it easier to work with when it is broken down into smaller pieces. I simply place the agar nest into my Magic Bullet blender and pulverize it to the consistency below.

In a saucepan, slowly heat the water with the measured amount of ground agar. You don't need to boil the liquid. You simply want the agar to soften. This process should take approximately 5 minutes.

Once softened, place all of your ingredients into a blender.

Simply blend the mixture until reaches a smooth, liquid consistency. That's it! Your "cheese" sauce is ready.

You can use this cheese sauce anywhere you would use melted cheese. For example, try using it with:
- nacho chips
- tortillas or flat breads
- pasta, as I did below, for a yummy mac and "cheese"


Of course, instead of plain, every day mac and cheese, I topped mine with caramelized onions cooked with Herbs de Provence. Mmm.

Saturday, July 16, 2011

São Moo-guel

The Azores is a grouping of nine islands located, pretty much, in the middle of the Atlantic Ocean. Together, they are an autonomous region of Portugal and make the western-most part of Europe.

I was lucky enough to visit São Miguel, the largest of the islands, nicknamed "The Green Island", because of its steady, moderate climate and green landscape. I use of the word "large" only in comparison to the other islands. São Miguel, at its furthest points, is approximately 65 km long and 14 km wide. On some points of the island, you can actually stand and see both North and South sides at the same time!

Also an interesting fact: all mammals, with the exception of bats, were introduced to the island by humans. One of the animals you cannot go without seeing everywhere are black and white jersey cows. With a human population of approximately 240,000, I think I actually saw more cows than people!


These specific type of cows were brought to the island because of their ability to cope with/live in the climate and for their milk production. Dairy production is one of the main industries of the island.

I personally think the reason the Islanders brought these particular cows to São Miguel was because the Azoreans like the look of "black and white" against the backdrop of their land.


Do you think I'm joking? If so, here are a few random pictures that I think prove my theory.


I think that gives the expression "Holy Cow" a whole new meaning!

In any case, it is not unusual to see people milking their cows on their land.

As you can see, pumping can occur quite casually as the animal feeds comfortably off a trough.

The rich cow's milk is used to produce butter and many varieties of cheese.

One of the more memorable cheeses, for me, was "queijo fresco" or fresh cheese. The Azoroean version was a little different from the Spanish and Italian versions, of fresh cheese, I have tried. Their version is a bit saltier and is normally eaten with a red pepper sauce called, "molho de pimenta".


The milk itself is also used on São Miguel, like here at the "Festa do Espírito Santo" or Feast of the Holy Spirit. The feast, or more correctly feasts, take place over a number of weeks with activities including processions, crowns of the Holy Spirit and, of course, food. (There will be more to come regarding the Festa do Espírito Santo.)

On this particular day, milk was being distributed after a Catholic mass.

The milk was served alongside a sweetbread called "massa" or "massa sovada". This type of bread is also served during other holidays, including Christmas and Easter.


The bread is slightly dense, with a light crust and an eggy-sweet flavour.

What a pair!

Tuesday, May 24, 2011

Rum Balls

Have you ever found yourself with leftover cake and not know what to do with it? However unrealistic thought (of having leftover cake), there is something you can make with it; rum balls. 


(As a warning, this recipe is one without measurements.) Begin with an amount of cake crumbs. I used the crumbs of a cake that I salvaged from an oven spill-over disaster. These particular cake crumbs are from my gluten-free lemon olive oil cake. (Click here for the recipe.) In case you're wondering, any type of cake will do.


You will also need some chocolate. I decided to use 70% dark chocolate, as it's what I had in my cupboard.


Slowly melt the chocolate over a double-boiler until it is silky smooth. (You can also use a microwave for this process.) When it is at this consistency, it is time to add some rum.


In fact, you don't need to use rum it all. I decided to put my own twist and use Nocello, a walnut flavoured liquor, instead.

When you add the alcohol to the chocolate, the mixture will get goopy, like this. At that point, you will need to add some fat to loosen it up.


Butter will do, but if you want to keep it dairy-free, I suggest using a little coconut oil or some unrefined palm oil. I like to use the unrefined palm oil, as it contains a high level of beta carotene. It has a beautiful orange-red colour and is a semi-solid at room temperature. You can find this type of palm oil quite easily in a store catering to the West Indian or African market.


Add enough fat so that the chocolate-liquor mixture goes back to a smooth finish.


Add the chocolate mixture to the cake crumbs.


Combine well and form into small balls.


You can roll the balls in ground nuts, chocolate sprinkles, coconut shavings, etc., or keep them au naturel as I did. Put the rum balls on a wax paper-lined tray and place them in a fridge or freezer until they set.


These rum balls are incredibly decadent. You will love them!

Saturday, March 19, 2011

Cheese please!

There are many individuals who cannot have dairy products, including cheese, for a variety of reasons. I came across an ingredient that can be used as a substitute: yeast.

Now, this isn't the type of yeast you are used to, although it is derived in the same manner. Yeast is the primary ingredient used in fermentation. Be it to ferment alcohol, e.g. beer, or to make breads rise, this product has been used for centuries.

Common baker's yeast is usually made from a species called Saccharomyces cerevisiae. The same species of yeast is also used to produce a product called nutritional yeast. Nutritional yeast, compared to baker's yeast, has been deactivated, so that it does not reproduce. It is essentially dead yeast (R.I.P.). A very important effect of killing the yeast is that it produces a very pronounced cheese flavour.

Nutritional yeast is not just "nutritional" in its name. It is a great source of vitamin B12, which is the vitamin that:
- supports production of red blood cells
- prevents anemia
- allows for nerve cells to develop properly
- helps cells metabolize protein, carbohydrates and fat

Compared to other vitamins, which can be acquired through a variety of plants and animals, it appears that the exclusive source of vitamin B12 is through microorganisms like bacteria, molds, algae and yeasts. 


Nutritional yeast is rather inexpensive and can be found at some bulk food stores and health food stores. It is often found in the form of yellow flakes or powder.


To create the effect of grated cheese, combine equal amounts of nutritional yeast and ground blanched almonds. I used approximately 2 tablespoons of each. To this mixture, add a pinch or two of sea salt and enough olive oil to make it resemble moist bread crumbs.


Surprisingly, this mixture actually tastes like grated parmesan cheese. You have to try it to believe it! As a preliminary experiment, I used it to top pasta it was delicious. 

There will be some more experimentation to come.

Monday, February 7, 2011

Nuts for milk

I have been trying out different dairy alternatives for the last little while. Many websites on the Internet state that nut milk can be made using any type of nut. Most of the recipes follow the same principles for making almond milk. 

I regularly make almond milk, so this process was not very difficult. (For directions to make your own almond milk click here.)

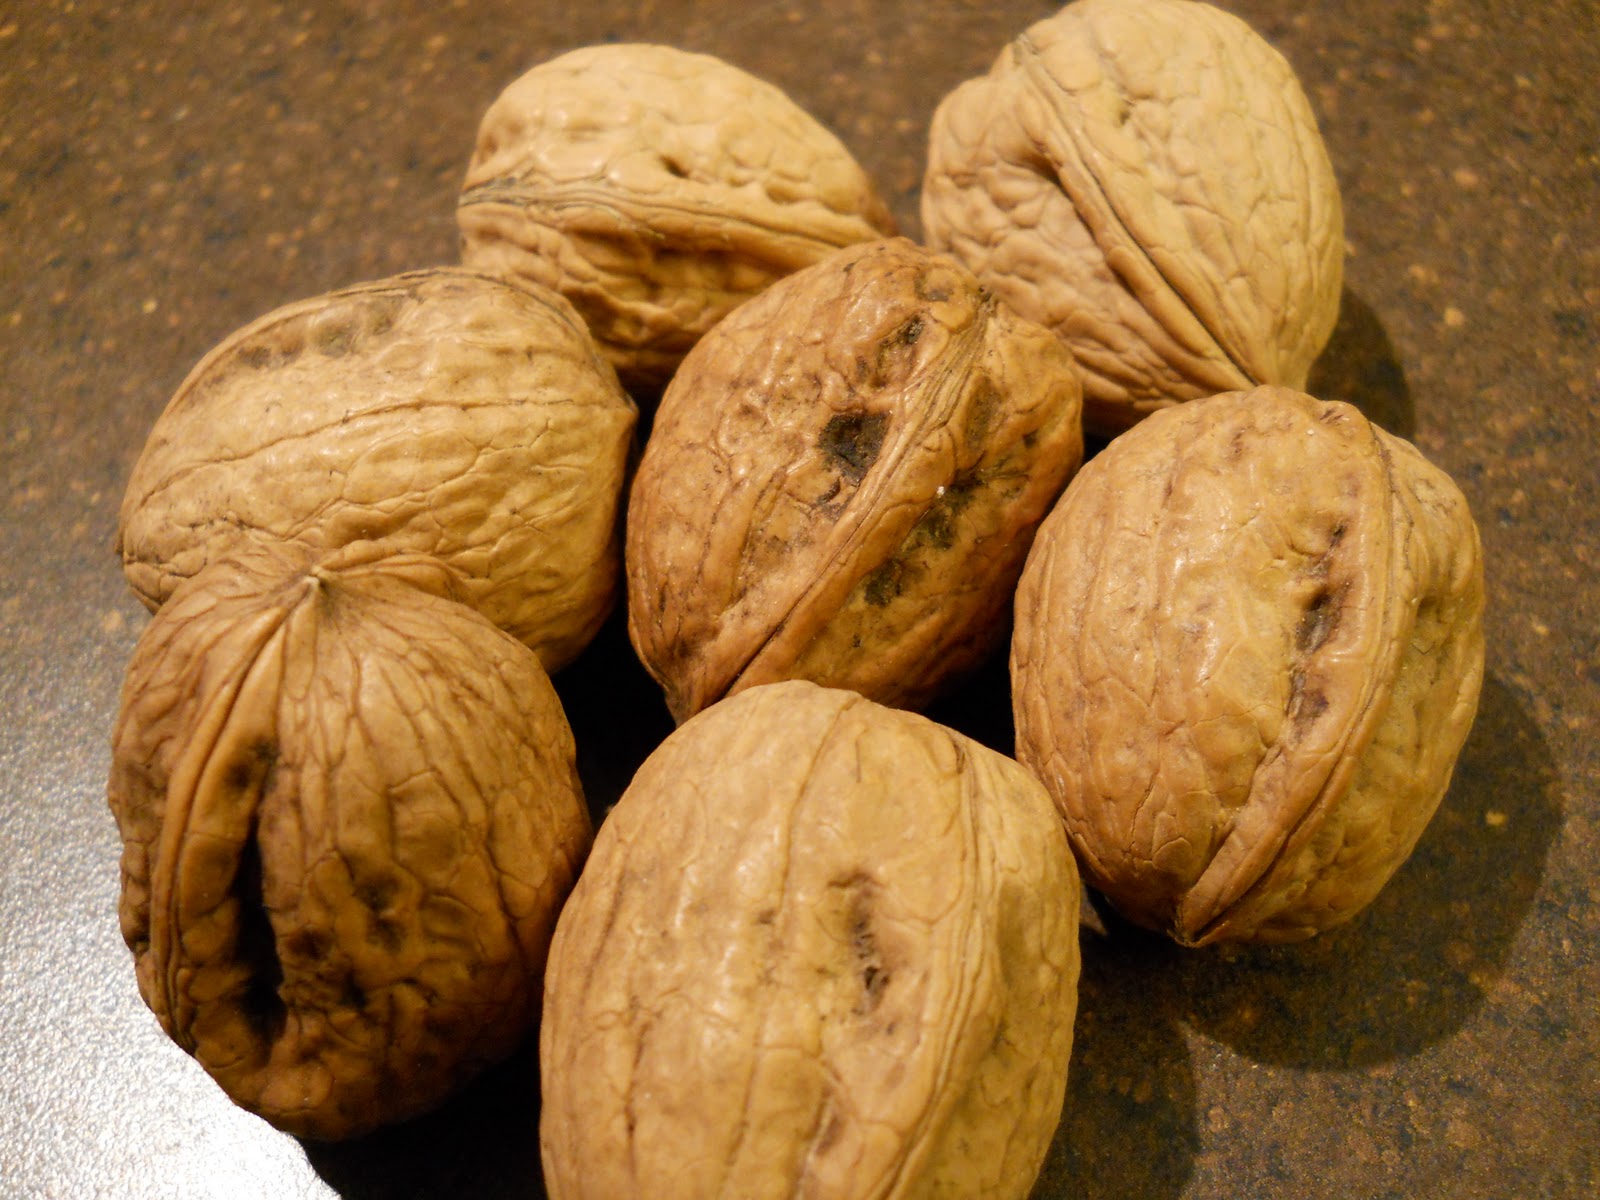
I thought I would try testing out a couple of different nuts: walnuts and chestnuts.

Walnuts have amazing nutritional value. They are rich in oils and contain omega-3 fatty acids, which are beneficial to health.


Begin with soaking approximately 1 cup of walnuts (shells removed) in water for a period of 8-24 hours.


Soaking the nuts will help to remove some of their bitter flavours. Rinse the walnuts a few times under cold water. Place them in a blender with a few dates (for sweetness) and approximately 4 cups of cold water. Feel free to add a little vanilla extract or honey for some additional sweetness. Strain the liquid and you will be left with approximately 1 L of walnut milk.


This frothy milk had a beautiful colour and a very mild taste. It was extremely refreshing and provided a nice change from everyday beverages.


Feel free to keep the walnut mulch for use in muffins, cakes, cereals, etc.


For the next experiment, I used shelled chestnuts. The chestnuts were fairly moist, so they did not require any additional soaking. I blended them with approximately 4 cups of cold water and two pitted dates.


The result was a very brown substance which separated into liquid and sediment quite easily. The process also did not yield much chestnut mulch for keeping. Surprisingly, the liquid tasted very good. (It is quite difficult to make chestnuts taste bad!)

As I wouldn't use it as a dairy alternative, I can see it being applied to baking recipes to add a little "je ne sais quoi".


Monday, January 24, 2011

Milk it for all it's worth

Rice is an amazing multi-purpose grain. It can be steamed, pulverized into a flour, and even milked (technically speaking).


Dairy continues to be a difficult food product to digest, for a number of people. Rice milk is a great solution for some. However, mass manufactured rice milk tends to be full of unnecessary oils, sugars, emulsifiers and preservatives.


Homemade rice milk is actually quite simple to make.


Begin with approximately one cup of freshly cooked, warm rice and put it in a blender. I like to use either basmati or jasmine rice for this purpose, as these varieties tend to be quite fragrant and flavourful.


Next, add a few drops of vanilla extract and 2-4 madjool dates for sweetness. (To read about madjool dates click here.) You do not necessarily need to use the dates at all. If you would like to sweeten your rice milk, feel free to use sugar, agave nectar or honey instead.


Add approximately 4 cups of warm water to the blender.


Blend the mixture until smooth. Leave the liquid, in the blender, to sit for approximately 20 minutes to let the solid particles settle.


After waiting, slowly pour out the liquid and ensure that the solids remain in the blender. Your rice milk is ready.


Do not throw away the sediment.


You can combine it with a dash of cinnamon and some raisins to create a wonderful tasting dairy-free rice pudding.