Showing posts with label Meat. Show all posts

Saturday, March 12, 2011

Bread-less Breading

A small disadvantage of gluten-free cooking is the inability to enjoy breaded foods. Even though the amount of bread used to coat/cover foods is minimal, it can be a nightmare for some to digest these ingredients. In any case, breaded foods are so good that it would be a total shame for people not to enjoy them.


For this reason, I have come up with an extremely flavourful, bread-free breading which, by the way, tastes even better than using breadcrumbs alone!


It's really quite simple. You will require the following ingredients for the breading:
- 3/4 cup crushed, blanched almond meal
- 3/4 cup dahl flour (yellow lentil flour)
- a dash of paprika
- a dash of chili powder
- freshly ground black pepper to taste
- salt to taste (I used approximately 1 teaspoon)
- 1 teaspoon of sugar


Note: You can find dahl flour quite easily at any East Indian or West Indian grocery store.


Simply mix the above ingredients together and use it wherever you require breading.


I decided to use the mixture to make gluten-free breaded chicken.


I began with some chicken cutlets.


To bind the breading to the cutlets, I made an egg wash by combining two large eggs with 2-3 tablespoons of water.


Place the chicken pieces into the egg wash.


Then proceed to cover them with the breading.

Note: You can also bread the chicken "Shake 'n Bake" style, by placing the breading in a bag and giving the egged chicken pieces a shake.

Place the breaded chicken pieces on a greased baking sheet and bake them until the chicken is fully cooked (to an internal temperature of 182°F).

I swear this chicken is tastes better than when using actual breadcrumbs!

Wednesday, March 9, 2011

Tequila Chicken

Contrary to popular belief, I do not spend my entire day in the kitchen. To further clarify, some days, I also get lazy. However, that does not mean that the food I make on those days has to taste bad. (There is no excuse for bad tasting food!)


For those days where you feel that you don't want to spend hours making a meal, here is my easy tequila chicken recipe.


I begin with pieces of chicken. Any part of the chicken will do. This time, I had some skinless, boneless breast pieces. They had been pre-cleaned, so there was no extra work. You can create this dish with large pieces of chicken, but I decided to cut them into bite-size pieces.


Next comes a of jar salsa. I like to use "medium", because I like the kick. In any case, I also like to use an authentic style of salsa, as these types usually contain no unnecessary ingredients or additives. So far, so good.

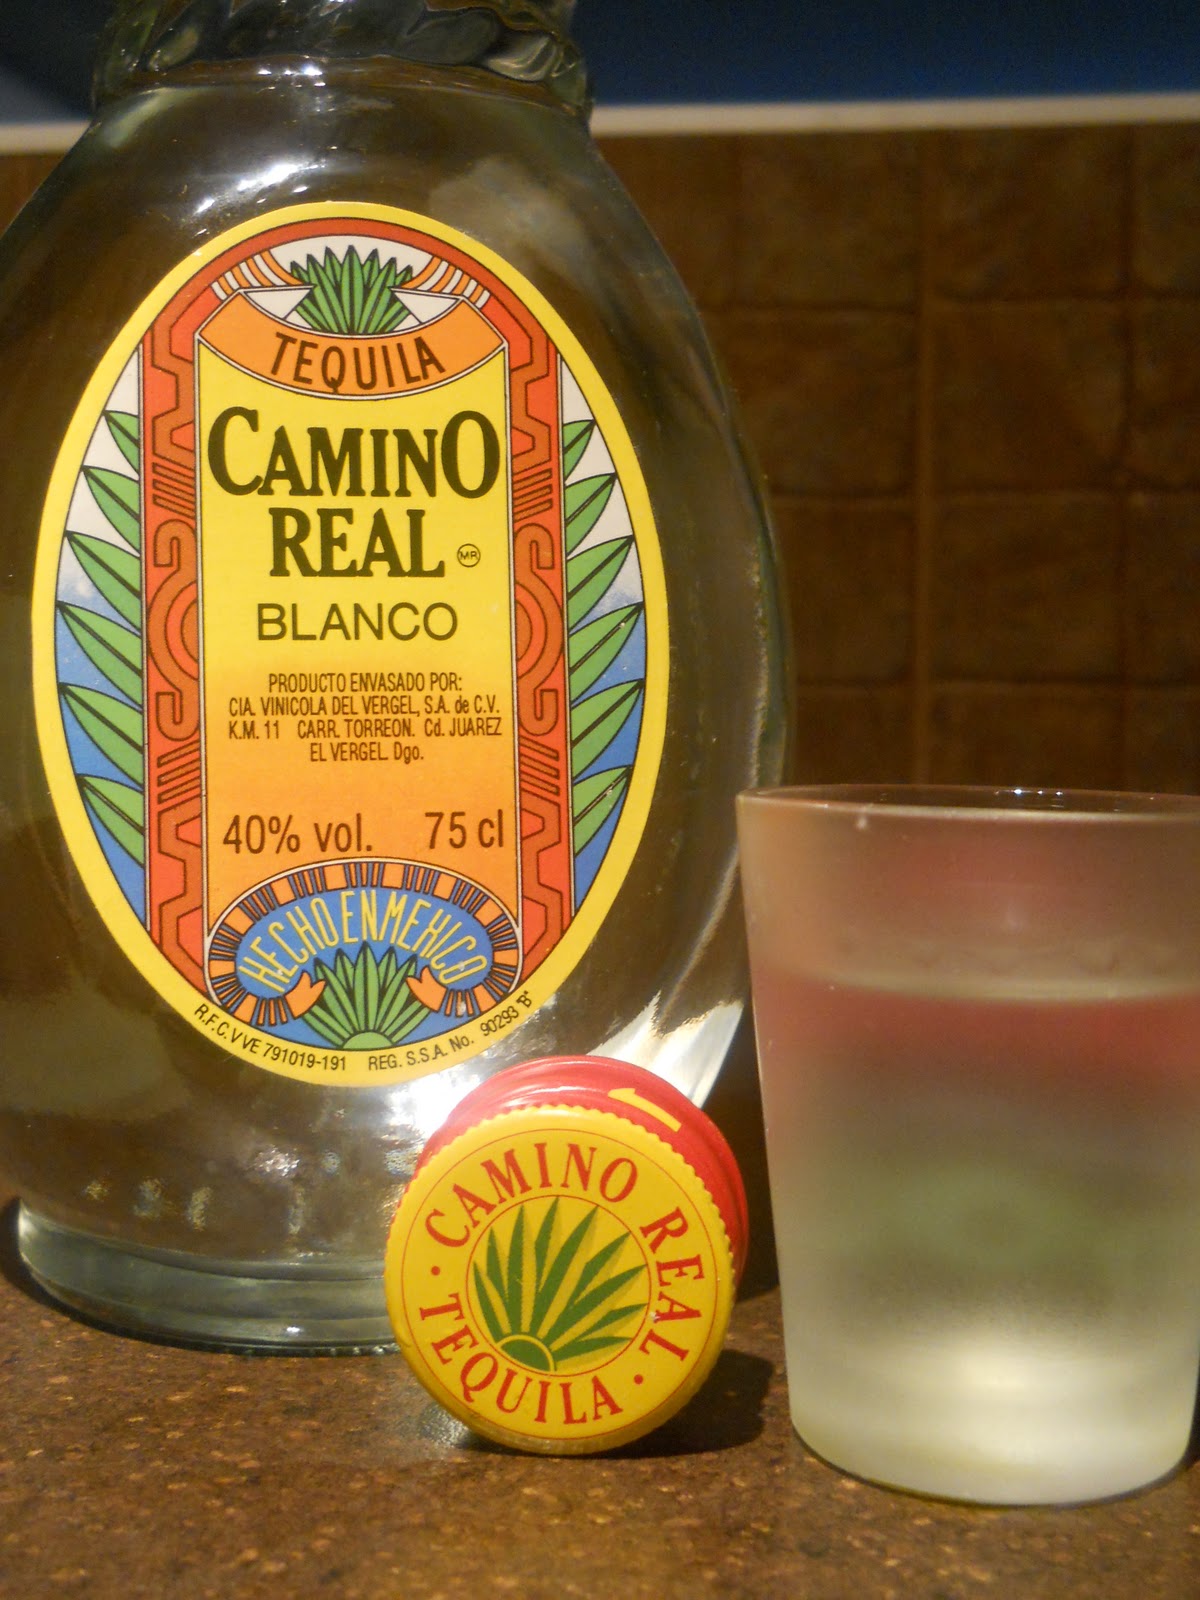
You can't have tequila chicken without the tequila! Generally, I add approximately one shot to the mix, but you could add more or less (depending on your taste and the amount of chicken you're making.) The tequila adds amazing flavour to the dish, while tenderizing the meat at the same time.

Simply add all of the ingredients to a pot, cover and simmer until the chicken is cooked. Just make sure to cover the chicken fully in the salsa. Depending on the thickness of the salsa, you may need to add some additional water. During the cooking process, the salsa will have turned into a thick and flavourful sauce.


Note: Always remember to cook your chicken thoroughly (to an internal temperature of 182°F). 

Serve the tequila chicken with:
- hard or soft tortillas 
- in wraps
- with rice, potatoes, pasta or any starch of your choice
- with spaghetti squash, as I did below (For my easy spaghetti squash recipe,  click here.)


Now there's an easy, quick and effortless dish!

Friday, February 11, 2011

Viva Chili

Note to readers: I am very proud and excited to present to you Angela, a guest writer for Quanto Basta. Angela is an amazing food enthusiast. I have had the opportunity to taste her most recent creation and it is absolutely wonderful. I hope you enjoy her post and pictures as much as I did! Welcome Angela!

- - - - - -

Hi! I’m Angela. I’m so excited that Asif has agreed to let me guest-post on his blog. What an honour! I love reading his posts and I feel like I learn something new in each one.

My love of food and cooking can be traced back to my childhood watching and helping my grandmothers in their kitchens. My Nonna was Italian and my Beppe was from Frysland, a province in the Netherlands. As a result, I’m passionate about cooking everything from meatballs and rapini to griesmeel pudding, speculaas and kniepertijes, preserving the family recipes for the next generation.

These days I love experimenting and cooking all sorts of healthy and hearty food for my family.

Is there anything better on a frigid February night than a bowl of hot steaming chili? One of the most comforting meals around, chili will warm you from the inside out.

There are as many different chili recipes out there as there are cooks, but the original comes from the Spanish Canary Islanders of San Antonio, Texas and was first served sometime in the late 1800’s.

These days you can find all sorts of variations including:

Texas-style chili- containing no beans, and no other vegetables whatsoever besides chili peppers.

Vegetarian chili- can contain all sorts of combinations of vegetables, and sometimes includes meat substitutes like tofu

Cincinnati-style chili- usually eaten as a topping for hot dogs

Louisville-style chili-includes spaghetti pasta

Let me tell you about my recipe and after you try it, you can let me know what you think. You will need:
·        lean ground beef (about 450g or 1lb)
·        one large onion, diced
·        5 cloves of garlic, minced

Cook the above ingredients in a pan/skillet and when the meat is almost brown, add 2 tbsp of ground cumin, 1 tsp salt and freshly ground black pepper. Stir.

I prepare the tomatoes and veggies while the meat is browning. In a food processor grind 4 cups of canned whole plum tomatoes and pour into your crock pot or large soup pot. You can use pre-ground tomatoes, if you have them, but I prefer to grind my own.

To the tomatoes add:
·         ·        3-4 stalks of celery, chopped
·         ·        3-4 carrots, chopped
·         ·        1 sweet red pepper, chopped
·         ·        2 jalapeno peppers, seeds removed and finely chopped
·         ·        2 cups corn (canned or frozen)
·         ·        1 can of black beans or kidney beans, rinsed

Stir the mixture and add 2-3 cups of homemade chicken, beef or veggie stock. You can use canned if you don’t have homemade, but once you start making your own stock you’ll never go back....but that’s another post altogether!  Add the stock slowly, stirring in between. Be careful not to add too much stock or you’ll end up with chili soup!

Once the meat mixture is fully browned, add it to the tomatoes and veggies. Stir to combine. Set your crock pot or soup pot on low and simmer for 6-8 hours. The longer you let your chili simmer, the more the flavours will meld together. If your chili gets too thick you can add a little more stock.

You may notice that I haven’t used a lot of salt. We are trying to use less salt around my house, but you may want to add some to your taste.

You can serve your chili on nachos or chili-dogs, with pita bread, whole wheat toast, or just by itself.

My favourite accompaniment is Asif’s amazing corn bread! (Click here for the recipe.)

Enjoy!

Tuesday, January 25, 2011

A papaya puesta, papaya partida

Papaya is a tropical fruit that is full of natural enzymes that break down food. These enzymes have been used in supplements to aid digestion. I like to use this particular property of the fruit for another purpose; marinades.


You can create a simple marinade, as I did, using the following ingredients:
- half a small ripened papaya (chopped and mashed)
- the juice of half a lemon
- olive oil
- chili powder
- red chili flakes
- freshly ground black pepper
- salt (to taste)
- thyme


Speaking of time, you will also need some of that. Place some skinned chicken pieces in a bowl and cover it with the marinade. (I used four quartered boneless chicken thighs.) Cover it with plastic wrap and leave it to sit in the fridge for 12-24 hours.


Transfer the contents to a roaster, cover and place it in an oven set to 350°F. Cook the chicken until it reaches an internal temperature of 182°F.


Note: Never take chances with chicken. Always use a meat thermometer!


The result will be an incredibly tender and juicy chicken.


Feel free to cook this chicken in any other way, including:
- barbecuing
- grilling
- broiling
- pan frying


Enjoy the papaya chicken with your favourite starch. A great combination is having it with cornbread. My recipe will be coming soon.

Thursday, December 30, 2010

The Tale of the Unfortunate Ox

Ox tail is a meat delicacy that is savoured by people from Italy, the Caribbean and others. It is derived from the bony tails of cattle. As you can see below, the raw form has a nice combination of meat, bone and fat, which lends itself well for stewing.


One of my favourite ways to enjoy this meat is by preparing it in a spicy tomato sauce. This recipe is so simple, it's ridiculous.


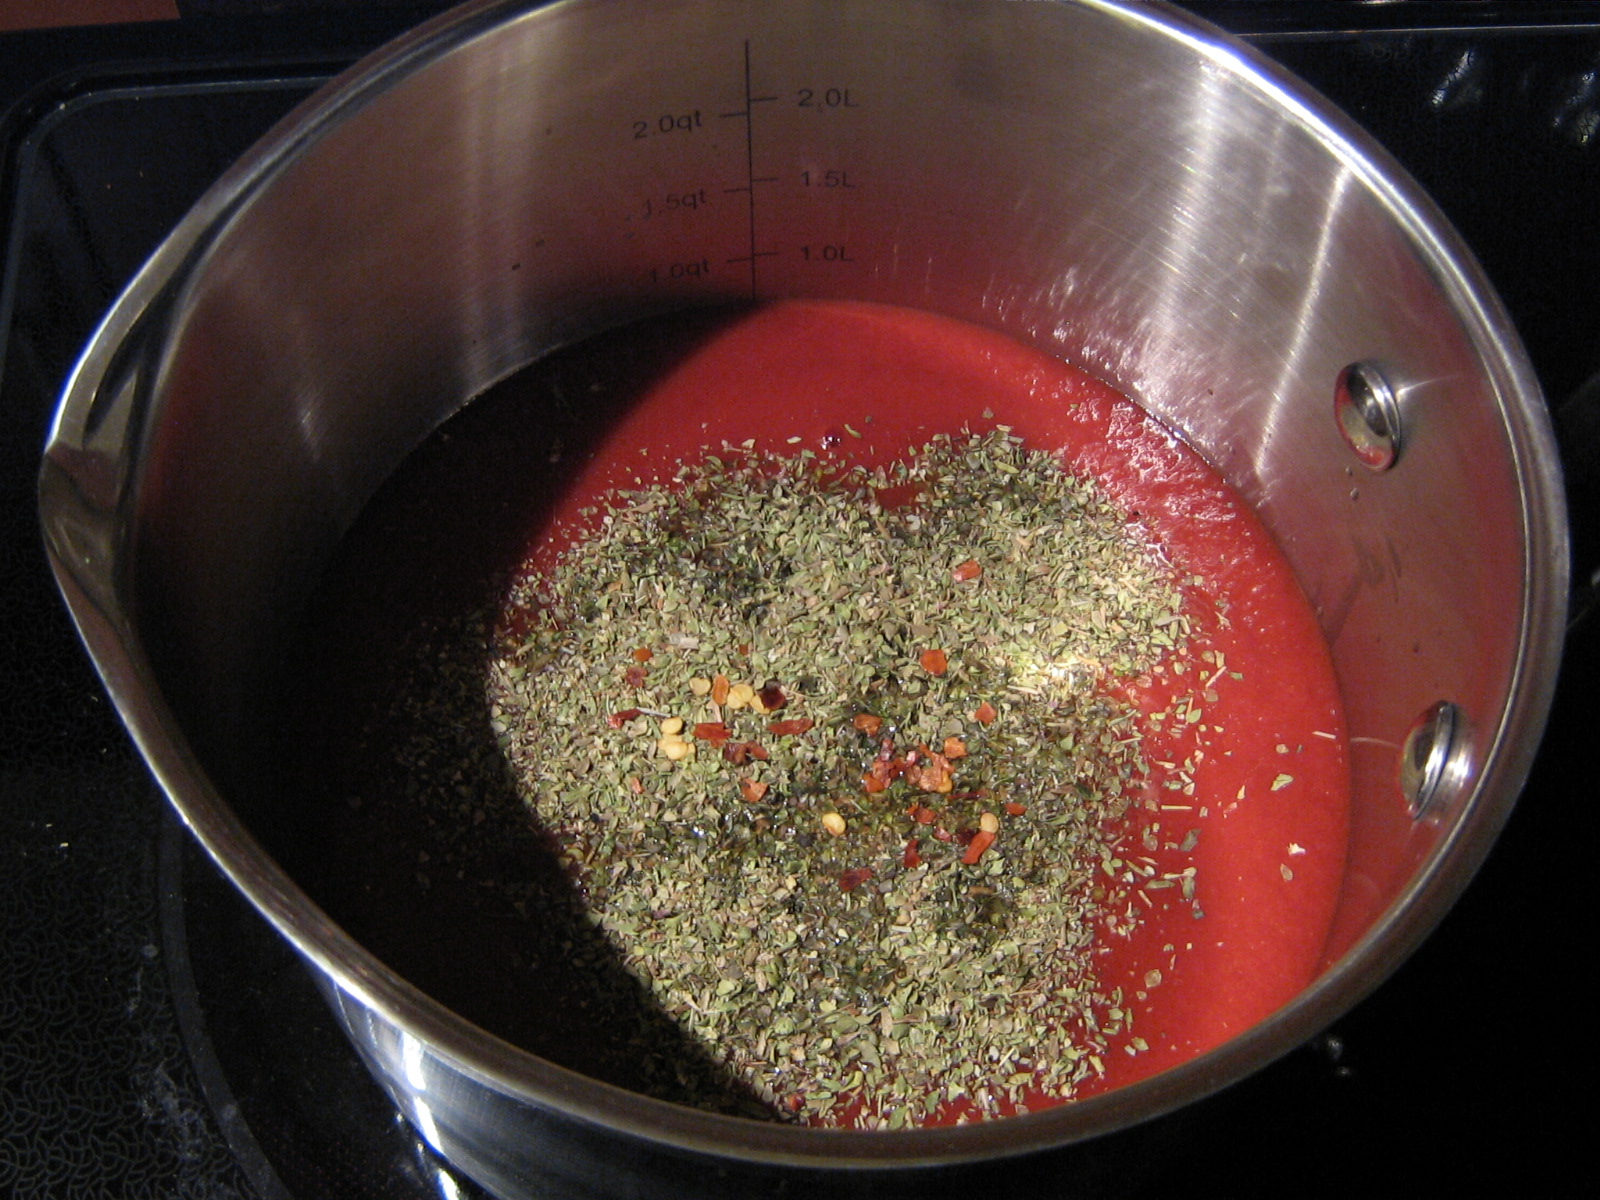
All you need to do is combine the following ingredients in a saucepan:
- puréed tomatoes (You can also use chunked tomatoes.)
- 2 tablespoons of oregano
- salt (to taste)
- hot pepper flakes
- 3 to 4 tablespoons of hot pepper vodka (You can also use regular vodka for this recipe. For my entry on how to make your own hot pepper vodka click here.)


Note: Garlic can be added optionally.


Give your mixture a quick stir and submerge the ox tail pieces within it. Simply cover your pot and let it slowly simmer for approximately one hour.


The result will be some of the best tomato sauce you have tasted.


Use the sauce in any way you would regular tomato sauce.


The ox tail meat can be easily shred and used in a number of ways, like:
- in sandwiches
- over salad
- stuffed in pasta, e.g. ravioli
- combined with other meats to be used in meat pies, samosas, empanadas, etc.

Sunday, November 21, 2010

Silence of the Lambs

Eid al Adha is a Muslim feast celebrating the willingness of Abraham to sacrifice his son, by the will of Allah (God). In Tunisia, Eid al Adha is known as Eid al Kabir or "The Greater Eid". The story goes on to state that God intervened and placed a sheep/ram in the place of the son.

Muslims all around the world celebrate this festival during the 10 day of the last month of the Islamic calendar, by sacrificing an animal in commemoration of this story. This year, the festival was celebrated on November 16, 2010. Sheep, rams, goats and even cows were present throughout the country on roadsides, streets, farms, highways and cities.

Many of the animals are brought in by Berber nomads to sell for consumption during the celebration.

A single sheep can be bought for approximately 200-250 Tunisian Dinars or 100-150 ($150-$190 CAD).


The sacrifice is usually performed at an individual's home. The meat is then divided amongst family, friends and others and eaten throughout the week.


According to Islamic law, the animal must be slaughtered in a manner in which to make it halal or "lawful". Halal is the equivalent to Muslims as kosher is to Jews. During the process, the animal is killed quickly and the all of the blood drained and discarded.


Fresh meat can be found readily at small roadside "restaurants" off main roads and highways.

One can simply drive up and select a desired chop of meat. The meat will then be weighed and paid for.

The restaurateurs will then proceed to chop the meat into smaller pieces.

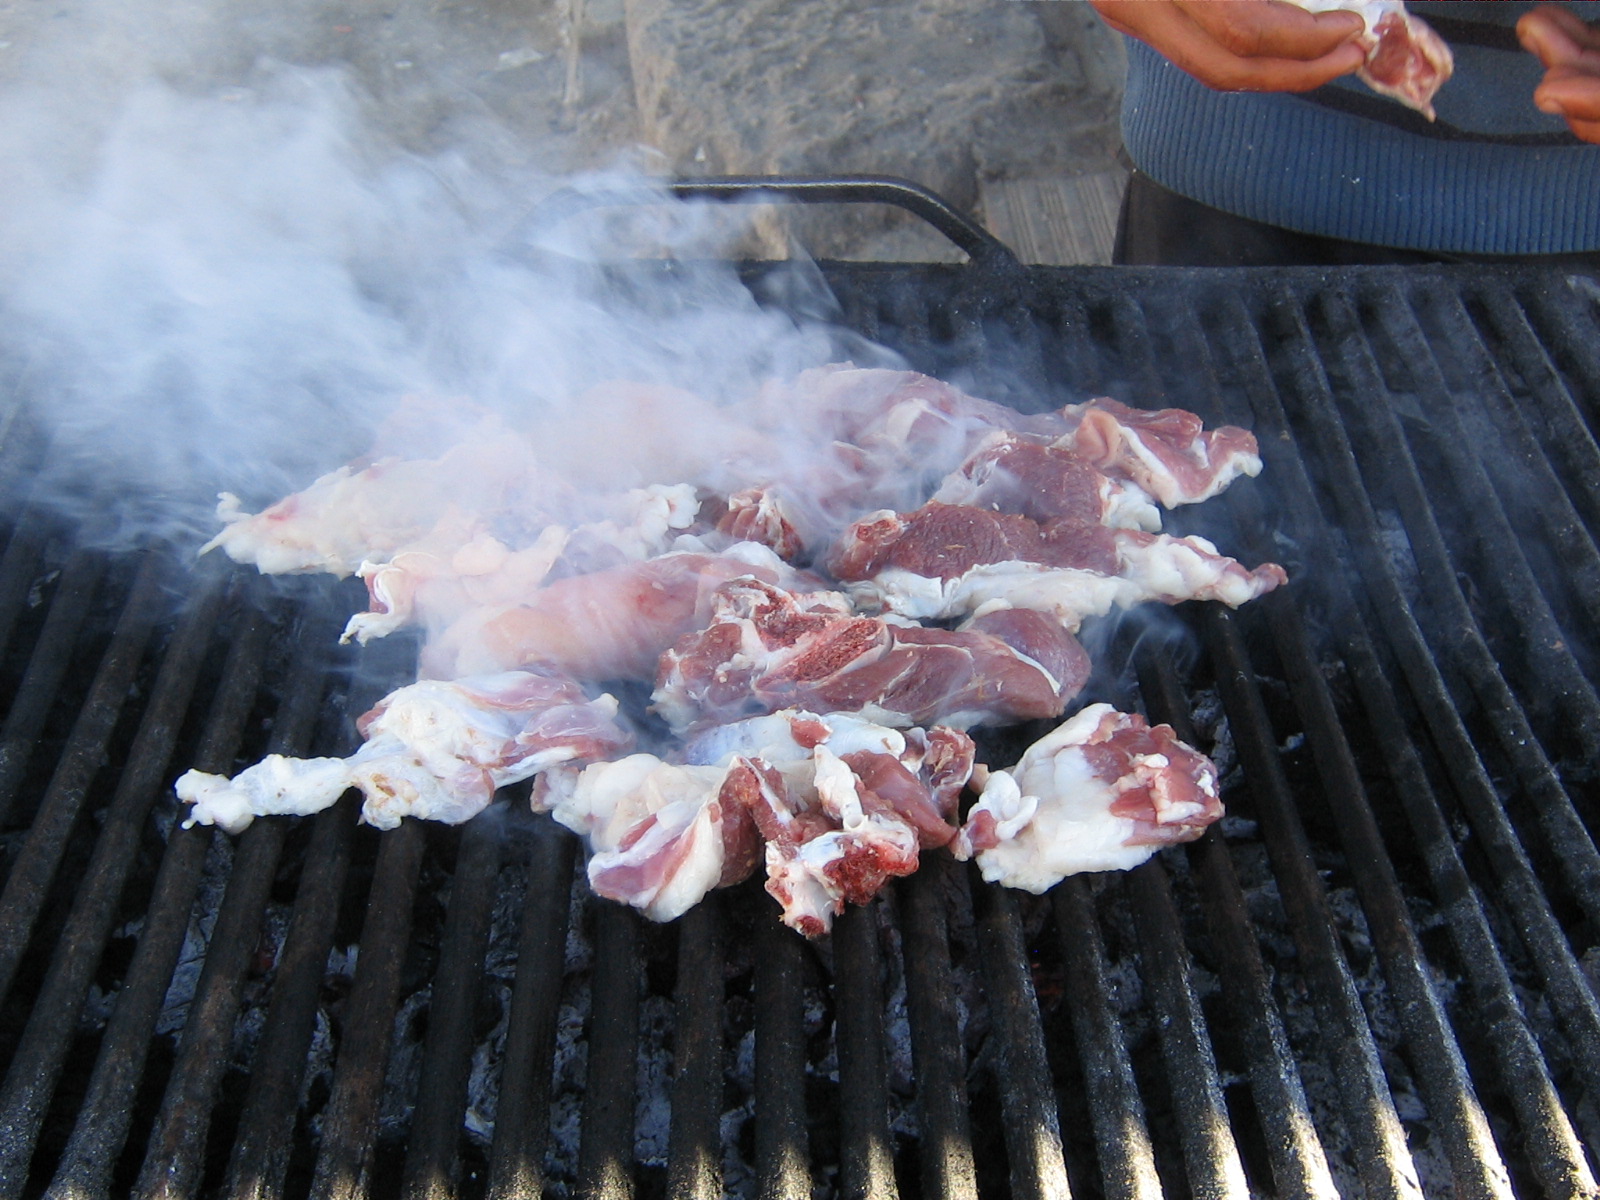
The mutton is then the seasoned with sea salt and olive oil.


The meat is then grilled for a minimum period of time (approximately 5 minutes) and serve immediately.

I think this was the best grilled lamb I had ever had!

Eid Mubarak!

Sunday, November 7, 2010

Carbonara au gras de canard

Carbonara is a tasty sauce served with pasta. It is normally out of reach for me, as the traditional recipe calls for the use of pancetta or bacon. As I do not eat pork or pork products, I have often wondered how I could create this dish without sacrificing its base flavour.


My solution was to use a combination of duck fat and bresaola. (This is by no means a healthy meal. It is all about full flavour!)


For this recipe, you will require the following ingredients:


Pasta.

Any pasta will do. To change it up, I decided to use a corn pasta made by La Veneziane. These pasta noodles taste great and are gluten-free.

Approximately 1/4 cup-1/2 cup grated, dry cheese. I decided to use Romano, but you can easily use parmigiano or perocino instead.

Approximately 1 tablespoon of minced garlic.

Two eggs beaten.

Some duck fat. (Also have some olive oil at hand.)

A handful of shredded bresaola. (For my entry regarding bresaola, please click here.)


Cook your pasta according to the directions to make it al dente. You may decide to cook your pasta slightly in advance. If you do, feel free to drizzle a little olive oil over it, so that it doesn't dry out.

In a pan, melt some duck fat with some olive oil.

Add in your minced garlic and let it brown slightly.

Now add your shredded bresaola and let it crisp up in the hot pan.


When your pasta is ready, drain it and add it to the pan. A little bit of pasta water in the pan is okay and will actually help with the sauce.

Give the pasta a quick turn in the hot pan, so that it becomes coated with the oils.

Remove the pan from the heat and add the eggs and cheese. Fold it in quickly, but do not let it cook.

Serve immediately and enjoy this hearty, rich and savory dish.

I'm sure you'll love it!